http
下面是搭建简单的web服务器例子,共有4个版本。
简单的web服务器(版本一)
使用node构建一个简单的web服务器。
具体步骤如下:
1、引入http模块
2、使用http.createServer()来创建一个 Web服务器
3、服务器具体的功能:接收并且返回消息给浏览器
这里包括3个部分:接收消息,处理接收的消息,返回消息
- 接收消息–request
- 处理接收的消息
- 在server.on()方法里面处理请求并且返回字符串“hello,hahahahah~”
- 返回消息–response
4、绑定端口号,启动服务器1
2
3
4
5
6
7
8
9
10
11
12
13
14
15
16
17
18
19
20
21
22
23
24
25
26
27// 1、引入http模块
var myHttp = require('http')
// 2、使用http.createServer()来创建一个 Web服务器
var server = myHttp.createServer()
// 3、服务器具体的功能:接收并且返回消息给浏览器
// Request 请求对象
// 用来获取客户端的一些请求信息,例如请求路径
// Response 响应对象
// 用来给客户端发送响应消息
server.on('request', function(request, response) {
// 这里请求的地址是任意的,并没有实现对不同的路径返回不同的消息
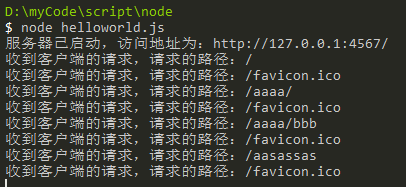
console.log('收到客户端的请求,请求的路径:' + request.url);
// response.write(): 用来给客户端发送响应数据,且write 可以使用多次,同时必须使用 end 来结束响应,否则客户端会一直等待
// 目前中文会乱码,仅支持两种数据类型,一种是二进制,一种是字符串,后面版本会返回中文字符串
response.write('hello,hahahahah~');
// 数字、对象、数组必须使用JSON.stringify处理
response.write(JSON.stringify(123));
response.end();
});
// 4、绑定端口号,启动服务器
var post = 4567;
server.listen(post, function() {
console.log("服务器已启动,访问地址为:http://127.0.0.1:4567/")
});
简单的web服务器(版本二)
根据不同的路径返回不同的响应结果。这里只需改造server.on()中的处理即可。
1 | server.on('request', function(request, response) { |
简单的web服务器(版本三)
这个版本可以返回中文。
当未指定编码方式时,浏览器默认按照当前操作系统的编码去解析。所以再版本一中会出现中文乱码。解决方法是,告诉浏览器自己的编码方法,让浏览器以我们想要的方法解析字符串。
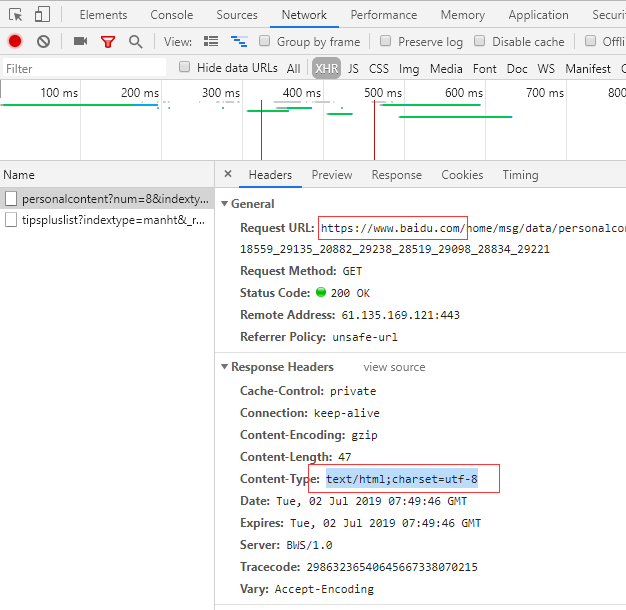
在 http 协议中,使用Content-Type 设置编码方法。例如Content-Type: text/html;charset:utf-8;。可以看到Content-Type中有2个值,text/html;和charset:utf-8;。
text/html;
不同的文件对应不同的值,至于什么文件对应什么Content-Type内容,这里可以百度或者谷歌Content-type对照表。
常见的有下面几种:
| 数据格式 | Content-Type(Mime-Type) |
|---|---|
| 纯文本格式 | text/plain |
| .html | text/html |
| .img | application/x-img |
| .jpg | application/x-jpg或者 image/jpeg |
| .png | application/x-png 或者 image/png |
| JSON数据格式 | application/json |
| .bmp | application/x-bmp |
charset=utf-8
若是需要显示中文字符串,则设置增加charset=utf-8这个参数,若不需要,比如加载图片,则不需要这个。
例子1
下面例子是访问百度某个页面,由于其返回的是html格式的内容,所以使用的是text/html。同时设置charset=utf-8来显示中文字符串。
例子2
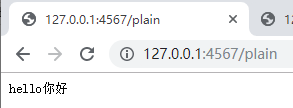
下面用来说明在node中,如何使用Content-Type。同时说明了text/plain和text/html的区别:text/plain用来加载普通文件,text/html用来加载html文件。
1 | // 1、引入http模块 |
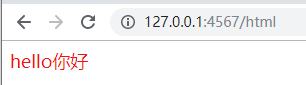
结果如下,可以看到,当服务器返回给页面是html代码时,text/plain;charset=utf-8则是把返回的内容当作字符串,原样输出了(http://127.0.0.1:4567/plain2)。但是将其设置为text/html;charset=utf-8时,则可以正常显示html的内容及其样式。

简单的web服务器(版本四)
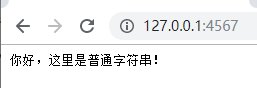
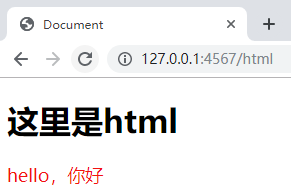
服务器返回html文件和图片等资源给浏览器。这里使用核心模块fs。当请求到服务器时,首先,先根据不同的路径执行不同的操作。其次,返回响应结果,地址若是http://127.0.0.1:4567/,则返回普通字符串;地址若是http://127.0.0.1:4567/img和http://127.0.0.1:4567/html,则使用fs读取文件。最后,将读取的文件返回给浏览器。
1 | // 1、引入http模块 |
index.html1
2
3
4
5
6
7
8
9
10
11
<html lang="en">
<head>
<meta charset="UTF-8">
<title>Document</title>
</head>
<body>
<h1>这里是html</h1>
<span style="font-size: 18px;color: #f31111;" >hello,你好</span>
</body>
</html>